Best RO Systems
HomeGuidesInstalling an under-sink RO system
How-to

How to install an under-sink reverse osmosis system

We're reader-supported: buying through our links may earn us a commission at no extra cost to you. We compare published specifications, certifications and prices — we don't run a testing lab.

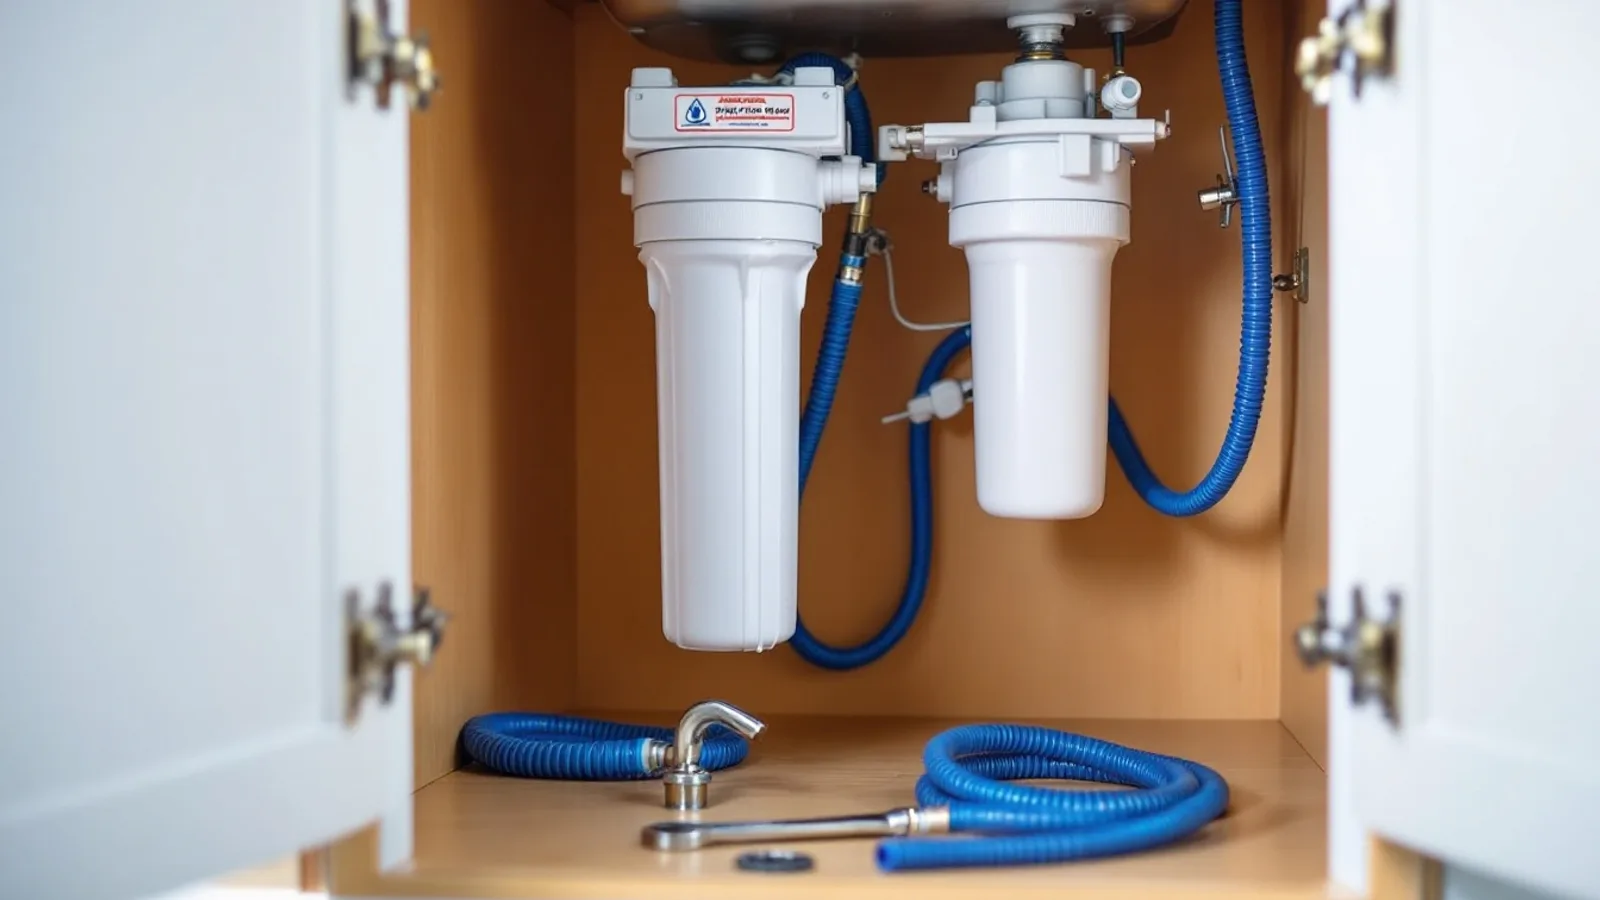
Under-sink reverse osmosis system being installed inside a kitchen cabinet, with filter housings, quarter-inch tubing and a feed valve on the cold water line

Installing an under-sink reverse osmosis system is not difficult work. It is fussy work. Nothing needs strength or a torch or a permit, and almost every step ends with a plastic fitting you tighten by hand and then stop. What it needs is patience in a bad position — on your back, in a cabinet, with a flashlight in your mouth.

The people who find a puddle three days later rarely made a dramatic mistake. They over-tightened a nut, cut tubing at a slight angle, or pushed a line into a quick-connect until it felt seated and never pulled on it to check. That is the whole failure catalogue.

What follows comes from manufacturer installation literature, the published specifications of the systems in our main reverse osmosis guide, and the pattern of complaints in owner reviews. Be clear about the limits of that: we don't run a testing lab, and your own manual outranks this page wherever the two disagree. Budget three hours for a first install — the last thirty minutes are for leak-checking, and that is the part that pays.

Twenty minutes of measuring saves you the afternoon

Do this before the box is open. Any one of these checks can send the system back.

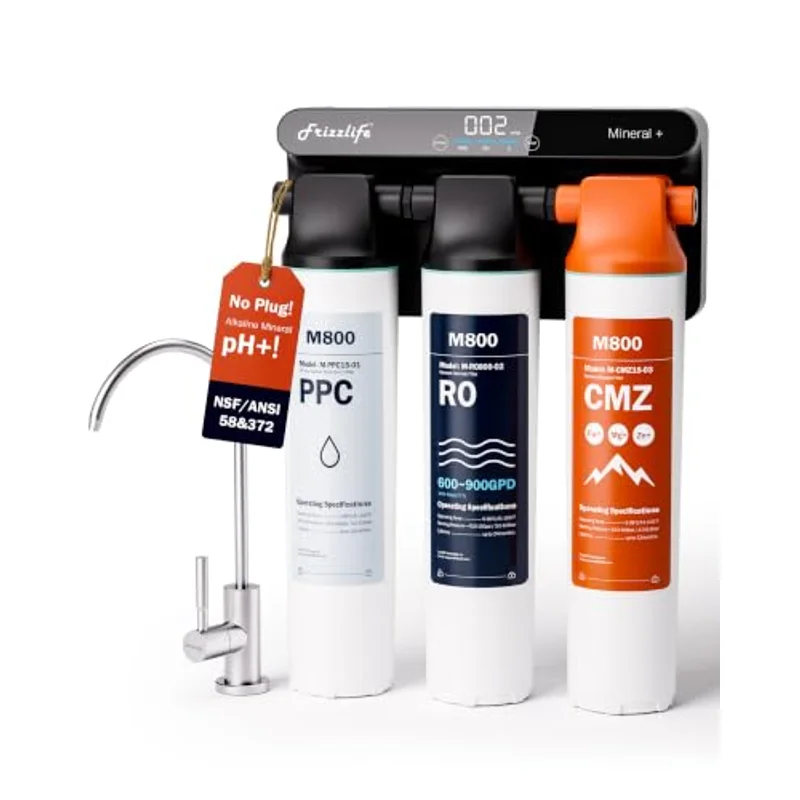
Measure the cabinet, then measure it again with the plumbing in the way. The usable space under a sink is never what you see from the front; the P-trap, the disposal body and the shut-offs all eat into it. Height catches people out with tankless units, because they stand upright. The Frizzlife M800 is 14.5 × 5.1 × 19.7 inches, and Frizzlife puts a pre-purchase check about exactly that at the top of its own listing. Nineteen and a half inches of clear vertical space is not a given.

Find the faucet hole, or decide how you'll make one. Most American sinks have a fourth or fifth hole taken by a side sprayer, a soap dispenser or a chrome blanking cap. If yours is capped, the job just got an hour shorter.

Check for an outlet if the system is pumped. Most tankless systems use a booster pump, and Waterdrop states plainly that the G3P600 requires under-sink electricity. No outlet and no easy route to one means either an electrician or a system that needs no power — a tank system, or a non-electric unit like the M800 that runs on line pressure alone.

Check your incoming pressure. RO is pressure-driven, and a starved membrane trickles while wasting more water. APEC publishes a feed pressure window of 40 to 85 psi for the ROES-PH75 and a maximum feed TDS of 2000 ppm, which fairly represents what conventional systems want. A hose-bib gauge answers this in a minute; below 40 psi you're looking at a permeate pump or a booster.

Shut off the cold supply and drain the line. Close the angle stop, run the kitchen faucet on cold until it stops. That empties the riser so you aren't fighting a jet when you break the connection, and it confirms the shut-off actually shuts off — old multi-turn stops seize, and learning that with a wrench in your hand is the worst way to learn it.

The parts you will actually handle

Lay everything on the counter first. Kits vary, but the cast is the same.

  • The cold-water feed adapter — a tee between the cold angle stop and the faucet riser, carrying a small ball valve and a 1/4-inch port for the RO line. Older kits sometimes include a self-piercing saddle valve instead; those clog, and some jurisdictions don't allow them.
  • The dedicated RO faucet and its deck plate — threaded shank, rubber washer, escutcheon, friction ring and nut. An air-gap faucet carries three lines instead of two and wants a wider hole.
  • The drain saddle — two half-clamps with a gasket and a hole, fitted to the drain pipe to give the reject water somewhere to go. Some kits now ship a drain adapter that replaces a section of tailpiece instead, which needs no drilling.
  • 1/4-inch quick-connect tubing, usually colour-coded for feed, faucet and drain. Every push-fit port has a collet — the ring you press to release — and internal teeth that grip the tube.
  • The tank valve, on tank systems: a small ball valve on the storage tank's port. It ships closed on some kits, and a tank valve left shut is the most common reason a brand-new install makes no water at all.
  • The faucet fastener. On the iSpring RCC7AK-BN, the patented top-mounted fastener lets you tighten the faucet from above the counter instead of reaching blind into the cabinet with a basin wrench. If you've never tried to start a nut on a shank you can't see, that detail is worth real money.

Tools: adjustable wrench, slip-joint pliers, Phillips screwdriver, a proper tubing cutter, PTFE tape for threaded metal joints only, a drill if you need a hole, a towel, a tray and a headlamp. A TDS meter is optional but it is the only way to know the system is working.

The faucet hole: three situations, three answers

You already have a capped or sprayer hole. Best case. Unscrew the sprayer or pop the cap out from below and you're done. RO faucets want about a 1/2-inch hole and most sink knockouts are 1 3/8 inch, which is why kits include a deck plate. Check the shank is long enough for your countertop thickness before you commit.

You need to drill stainless. Punch the centre, tape the area so the bit can't wander, then use a step bit at low speed with steady pressure and a few drops of cutting oil. Let the bit cut — leaning on it work-hardens the steel and kills the edge. Deburr afterwards so the hole doesn't chew the faucet washer. The noise is worse than the work.

Your worktop is granite or quartz. This needs a diamond hole saw, constant water cooling, and the technique of starting at an angle before bringing the bit upright. Done wrong, stone chips or cracks — and a cracked slab is a four-figure mistake no $200 filter system justifies. Unless you have done it before, paying a fabricator for one hole is the cheapest decision in the project. If you'd rather not touch the counter at all, that's a fair reason to consider a countertop system instead.

The install, step by step

Read all nine steps before starting the first. The faucet goes on before the plumbing, because the cabinet is friendlier to work in before three lines run through it.

1. Shut off the water and drain the cold line

Close the cold angle stop, open the kitchen faucet on cold, let it run dry. Clear the cabinet completely — you'll be putting your weight on that floor — and lay a towel with a tray under the shut-off. If the base is particleboard the towel isn't optional; a few drops live in that board forever.

2. Dry-fit the layout before connecting anything

Put the system, and the tank if there is one, where they'll live. Check the door closes, the shut-offs stay reachable, and every tubing run reaches without stretching or kinking round a corner. Five minutes here prevents finding, with everything connected, that the door fouls the tank.

3. Mount the faucet

Drop the shank through the hole with the rubber washer above the deck and the escutcheon flat, then fit the friction washer and nut from below while holding the spout on aim — faucets rotate on the last turn. Snug, then a small nudge; you're compressing a washer, not torquing a wheel nut. On the iSpring systems you tighten from above instead.

4. Install the feed valve on the cold supply

Disconnect the cold riser from the angle stop, thread the feed adapter onto the stop, reconnect the riser above it. Tapered metal threads get two or three wraps of PTFE tape in the direction of tightening; compression joints and anything sealing on a rubber washer get none. Tighten until it stops turning easily, plus a quarter turn. Leave the adapter's ball valve closed for now.

5. Fit the drain saddle

Two rules govern position. It goes on the tailpiece above the trap — below it, the trap's water seal no longer separates your kitchen from the sewer. And on a sink with a garbage disposal, never on the disposal body and never directly opposite its discharge outlet, where food slurry packs the small hole solid within weeks.

Clamp the halves loosely with the gasket against the pipe, mark through the guide hole, unclamp, drill a 1/4-inch hole through one wall of the pipe only, deburr it, then reassemble with the gasket hole exactly over the drilled one. Tighten the bolts alternately — running one down first crushes a plastic tailpiece out of round.

6. Mount the housings or the unit

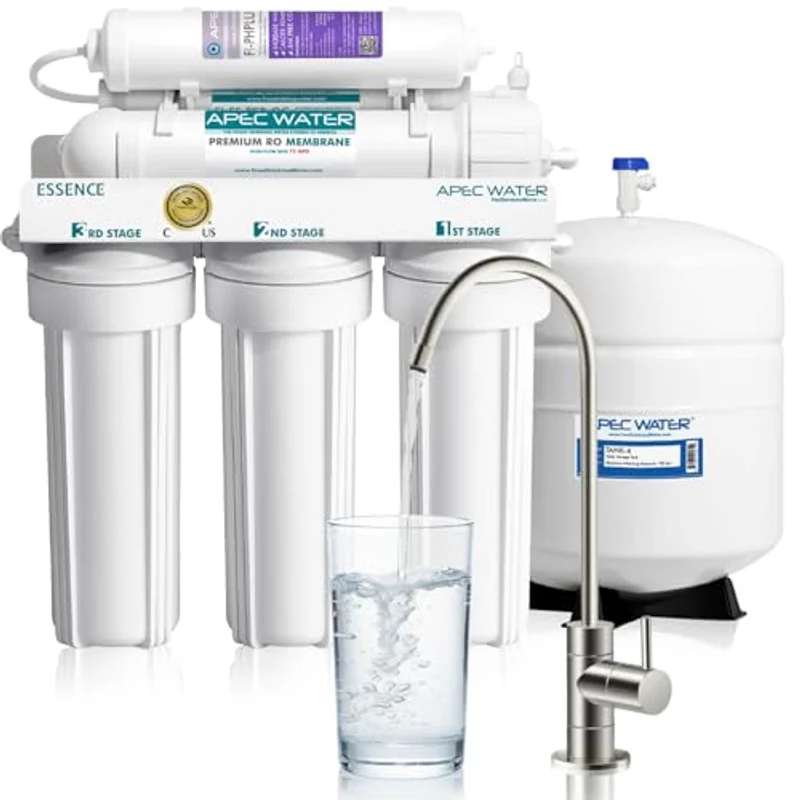
A conventional system like the APEC ROES-PH75 arrives as a bracketed bank of standard 10-inch housings that screws to the cabinet side wall. Leave about four inches of clearance below the sumps so a housing wrench can swing at filter-change time. The tank stands on the floor; tankless units stand upright against a side wall.

7. Cut and connect the tubing

Cut each length square with a tubing cutter, not at a slant with a utility knife. Push the tube straight into the quick-connect until it stops — deeper than it feels, typically about half an inch past the collet — then pull firmly on it. That tug test is the entire quality-control process for a push-fit joint. On a compression fitting, slide the nut on first, then the ferrule, and seat the tube fully before tightening; a ferrule is one-way. Fit any supplied collet clips.

8. Open the feed slowly and check every joint

Open the angle stop, then the feed adapter's ball valve a quarter turn, wait, and open the rest. On a tank system open the tank valve too. Then do nothing for a few minutes but look. Run a dry fingertip round every joint — feed adapter, saddle, each housing collar, faucet shank, tank port. Water finds the one you rushed, and any weep gets fixed now, while everything is dry.

9. Flush the system before you drink anything

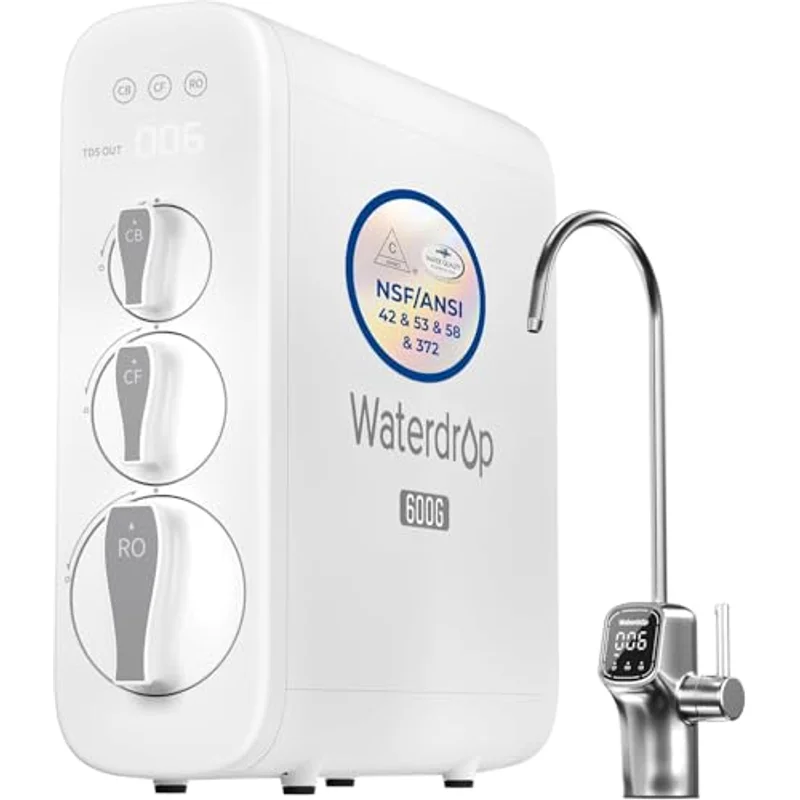
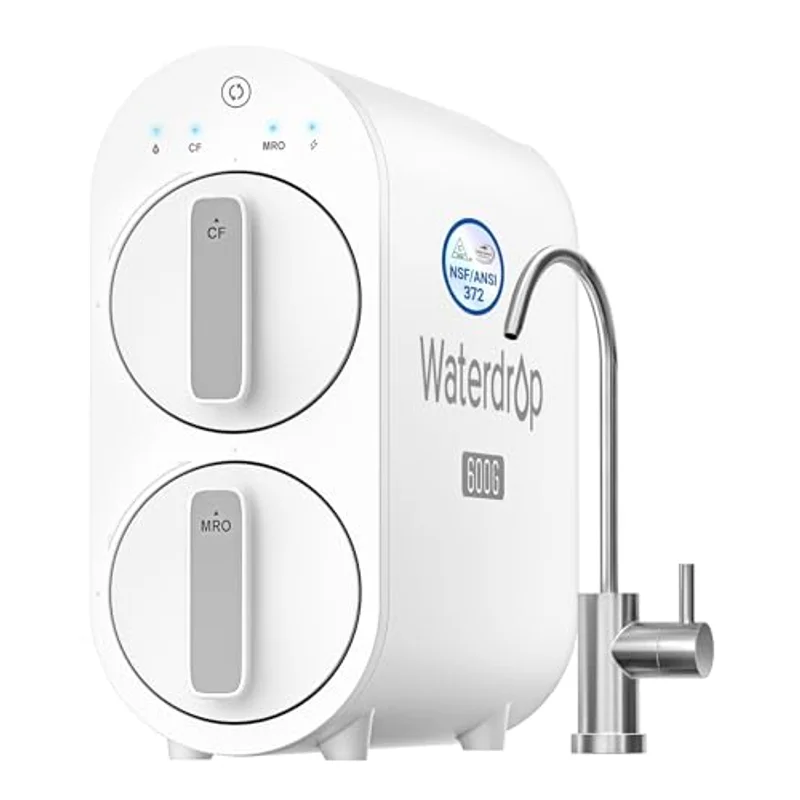
New membranes and carbon blocks ship with preservative and carbon fines, so the first water looks cloudy or tastes of carbon. On a tank system, fill and completely dump the first two tank-fills — open the faucet, empty the tank, close it, wait for the refill, repeat. At 75 GPD that is a few hours, so start in the morning. On a tankless unit like the Waterdrop G3P600 or G2P600, run the flush cycle and let the display settle; the TDS reading means nothing until the membrane has wetted out.
The four mistakes that cause almost every drip

Read the one-star reviews of any RO system and the same four failures come back across every brand. All four are preventable.

Over-tightening plastic fittings. Plastic threads never warn you. A housing collar or faucet nut taken half a turn past snug feels wonderful, then develops a hairline crack that seeps a drop an hour — the leak that shows up as a swollen cabinet floor months later, not a puddle on day one. Hand-tight plus a nudge is the whole rule; if it still weeps, the fix is a reseated or replaced O-ring, never more force.

Tubing cut on an angle. An angled end can't seat squarely against the O-ring inside the fitting, so it seals on one side and passes water on the other. It shows up as a slow, mysterious drip that stops when you nudge the tube — which is the tell. Cut it square and re-seat it.

A drain saddle gasket that isn't aligned with its hole. You get one of two things: a blocked drain line, with reject water backing up and the system running constantly without filling; or a seep round the clamp that runs down the tailpiece and pools at the back of the cabinet where nobody looks. Loosen, line the holes up by eye, retighten evenly.

Skipping the tug test on a quick-connect. A push-fit pushed most of the way in holds perfectly at zero pressure, then releases when the pump or tank pressurises the line. This is the failure that floods kitchens, because it lets go completely instead of dripping. Two seconds of pulling on every connection — including the ones at the back you did first and forgot — is the cheapest insurance in the project.

Tankless and tank installs diverge in three places

The core sequence is identical — feed, faucet, drain, tubing, flush — but three things change. A tank system wants floor space and a tank valve, and commissioning means filling and emptying a bladder twice. A tankless system wants vertical clearance and usually an outlet, and its flush is a button. The third difference arrives later: standard 10-inch housings need a wrench, a bucket and ten minutes at change time, while proprietary twist-in cartridges come out in seconds. Our tankless versus tank comparison covers the cost and performance side of that choice.

For anyone who wants an install with no surprises, the APEC ROES-PH75 uses standard housings and an entirely conventional layout — bracket, three sumps, membrane, tank, faucet. Nothing proprietary to learn, every part a stock size. That is why plumbers keep recommending them.

Three systems that are kind to a first-time installer

Picks from our main guide, chosen here for what they ask of you on installation day rather than for filtration alone. Prices move on Amazon — confirm before buying.

01Easiest faucet

iSpring RCC7AK-BN

The top-mounted fastener you'll appreciate at hour two
NSF/ANSI 58 · 75 GPD · 6 stages · tank · standard housings

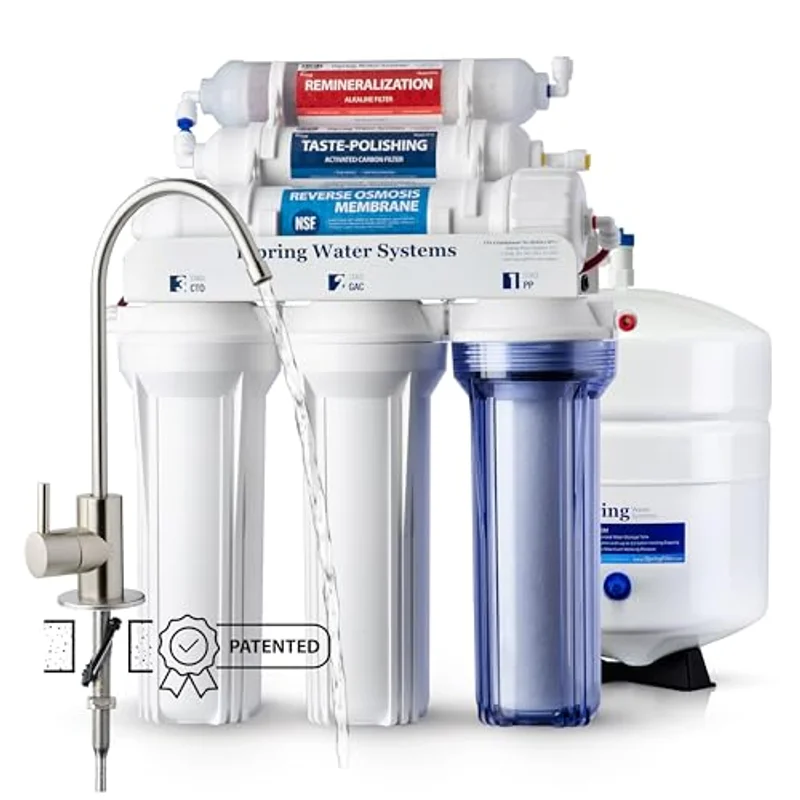
The patented top-mounted fastener moves the fiddliest part of the job — starting a nut on a shank you cannot see — above the counter. Everything else is conventional: three standard 10-inch housings, a membrane, an alkaline stage and a tank. It is certified as a whole system to NSF/ANSI 58, and the transparent first housing lets you watch the sediment load. It asks for the most cabinet space of the three here.

The theme that repeats across owner reviews: the install runs to an afternoon, and standard cartridges keep it cheap to live with afterwards.

iSpring RCC7AK-BN 6-stage alkaline reverse osmosis system with brushed nickel faucet
$198.76
Tank · 6-stageCheck price →
02No outlet needed

Frizzlife M800

When the cabinet has no power — measure the height first
NSF/ANSI 58 & 372 · up to 900 GPD · 4:1 pure to drain · non-electric

Skipping the outlet removes a whole category of install problem: no cord to route, no socket to add. The M800 runs on existing line pressure, adds minerals back after the membrane, and shows TDS and filter life on its display. The catch is physical, and Frizzlife flags it at the top of the listing: 14.5 × 5.1 × 19.7 inches. Measure the clear height under your sink before ordering, not after.

The theme that repeats across owner reviews: no cord and no tank is why people chose it, and cabinet height is why a few sent it back.

Frizzlife M800 non-electric tankless reverse osmosis system
$299.99
Non-electricCheck price →
03Fastest flush

Waterdrop G3P600

A slim box and a button flush — but it needs a socket
NSF/ANSI 58 · 600 GPD · 2:1 drain · 8 stages · tankless

No tank means no tank valve, no bladder to fill and dump twice, and the smallest footprint here — Waterdrop puts the space saving at 70% against a conventional system. Commissioning is a flush cycle rather than an afternoon of waiting, and the display faucet reports TDS and filter life instead of leaving you to guess. One condition is non-negotiable, and Waterdrop states it plainly: this system requires under-sink electricity.

The theme that repeats across owner reviews: it disappears into the cabinet, and the three-second filter twist is what people still mention a year later.

Waterdrop G3P600 tankless reverse osmosis system with smart display faucet
$439
Tankless · 600 GPDCheck price →
Install requirements

What each system asks of your cabinet

The five under-sink systems from our main guide, compared on what decides installation day rather than filtration.

ModelTypeOutlet neededTank valveCommissioningPrice
iSpring RCC7AK-BNTank · 6-stageNoYesFill and dump 2 tanks$198.76Price
APEC ROES-PH75Tank · 6-stageNoYesFill and dump 2 tanks$239.99Price
Frizzlife M800Tankless · non-electricNoNoneAuto-flush cycle$299.99Price
Waterdrop G2P600TanklessYesNoneFlush cycle$299.00Price
Waterdrop G3P600TanklessYesNoneFlush cycle, display settles$439.00Price

The first week: three checks that catch everything

Put a folded paper towel under each joint. Not a rag — paper, because it records. A seep too small to drip still stains it, so you learn on day two instead of finding a swollen cabinet base in November. Check at twelve hours, day two, and the end of the week.

Take a TDS reading once the system has settled. Measure your tap water first, then the RO water after the initial flush and a full day of operation. Manufacturers publish rejection rates against NSF/ANSI 58 test conditions — iSpring quotes 93 to 98% TDS reduction for the RCC7AK — so you have a rough expectation to compare against. Write the number down: when it climbs months later, it is telling you the membrane is tiring.

Expect the taste to change. RO water tastes flat or thin to a lot of people at first, and that isn't a fault: the membrane removes dissolved minerals along with dissolved contaminants, and minerals are most of what your palate reads as taste. Alkaline and remineralization stages exist for exactly this — we work through what is and isn't worth worrying about in our guide to RO and minerals. A metallic or plastic taste is different, and usually means the flush wasn't long enough.

One thing to listen for: intermittent gurgling from the drain line is normal on a tank system for a day or two. Continuous running that never stops is not, and usually points at a blocked drain saddle or a tank valve nobody opened.

Maintenance starts on the day you install it

Write the install date on masking tape and stick it to the housing or the side of the unit; every cartridge you fit afterwards gets its own dated label. Filter-life displays do this for you, but a date on the part itself survives a power cut and a house move.

Sanitise at every cartridge change, while the system is open. With the water off and the housings drained, a measured quantity of unscented household bleach in the first-stage sump, followed by a full flush and a discarded tank, is the standard published procedure — use the quantity in your own manual rather than a number off the internet, because sump volumes differ. Wipe the O-rings, smear them with food-grade silicone grease, and never reuse a torn one.

On the money: sediment and carbon stages run six to twelve months, the membrane typically two to three years. Standard 10-inch housings are the cheap route — an APEC pre-filter set is $25.46 for six months, and a year of iSpring cartridges for a 6-stage system is $69.24 without the membrane — while proprietary twist-in cartridges cost more, with the Waterdrop G3 front filter at $29.99 for roughly six months. Our filter replacement cost guide puts the annual figures side by side.

When to stop and call a plumber

There's no prize for finishing alone, and four situations are worth the call-out fee outright.

  • No shut-off valve under the sink, or one that won't close. Replacing an angle stop means shutting off the house supply and possibly soldering or crimping — worth having done properly while someone qualified is there.
  • A corroded or galvanised supply line. Old galvanised pipe is brittle and scaled inside, and disturbing a fitting can crack it inches back where you can't see.
  • A stone worktop needing a new hole. Worth repeating: a cracked slab costs many times the price of the system.
  • Anything around a garbage disposal you're unsure about. Housings aren't all drilled the same, some manufacturers prohibit tapping into the unit, and getting this wrong ends with a blocked line and food waste in your reject tubing.

If none of those apply, this is a three-hour job with a screwdriver, a wrench and some patience — and the last half hour, spent hunting leaks that aren't there yet, is the half hour that matters. Still deciding whether the exercise is worth it at all? We answer that with numbers in our piece on whether RO systems pay off.

FAQ

Installation questions people actually ask

How long does it take to install an under-sink reverse osmosis system?

Budget three hours for a first install. Roughly thirty minutes goes on measuring and clearing the cabinet, thirty on the faucet, an hour on the feed valve, drain saddle and tubing, and the last half hour on leak-checking. Add an hour if you have to drill a new hole in a stainless sink. Waterdrop quotes about thirty minutes for its tankless G2P600, which is realistic only when a faucet hole already exists.

Can I install one without drilling a new hole in the countertop?

Often, yes. Most kitchen sinks have a spare hole occupied by a side sprayer, a soap dispenser or a chrome blanking cap, and the RO faucet goes straight into it with the deck plate covering any size difference. If there is genuinely no spare hole and the worktop is granite or quartz, the realistic options are paying a fabricator for one hole or choosing a countertop system that needs no plumbing at all.

Where does the drain saddle go on the waste pipe?

On the tailpiece above the trap, never below it, so the trap's water seal still stands between your kitchen and the sewer line. On a sink with a garbage disposal, keep it off the disposal body and never directly opposite the discharge outlet, where the small hole packs solid with food waste. Drill through one wall of the pipe only, deburr the hole, and line the gasket hole up precisely with it before tightening the clamp bolts alternately.

Why do I have to throw away the first two tanks of water?

New membranes and carbon cartridges ship with preservative and loose carbon fines, and the first water through carries both. On a tank system you fill and empty the storage tank twice before drinking any of it, which at 75 GPD takes a few hours rather than minutes. On a tankless system you run the manufacturer's flush cycle instead and let the display settle, since the TDS reading is unreliable until the membrane has fully wetted out.

Keep reading

Next steps